After another snow fall this week I was in serious need of some Spring! Hope this project brings some sunshine to you, as it did for me!
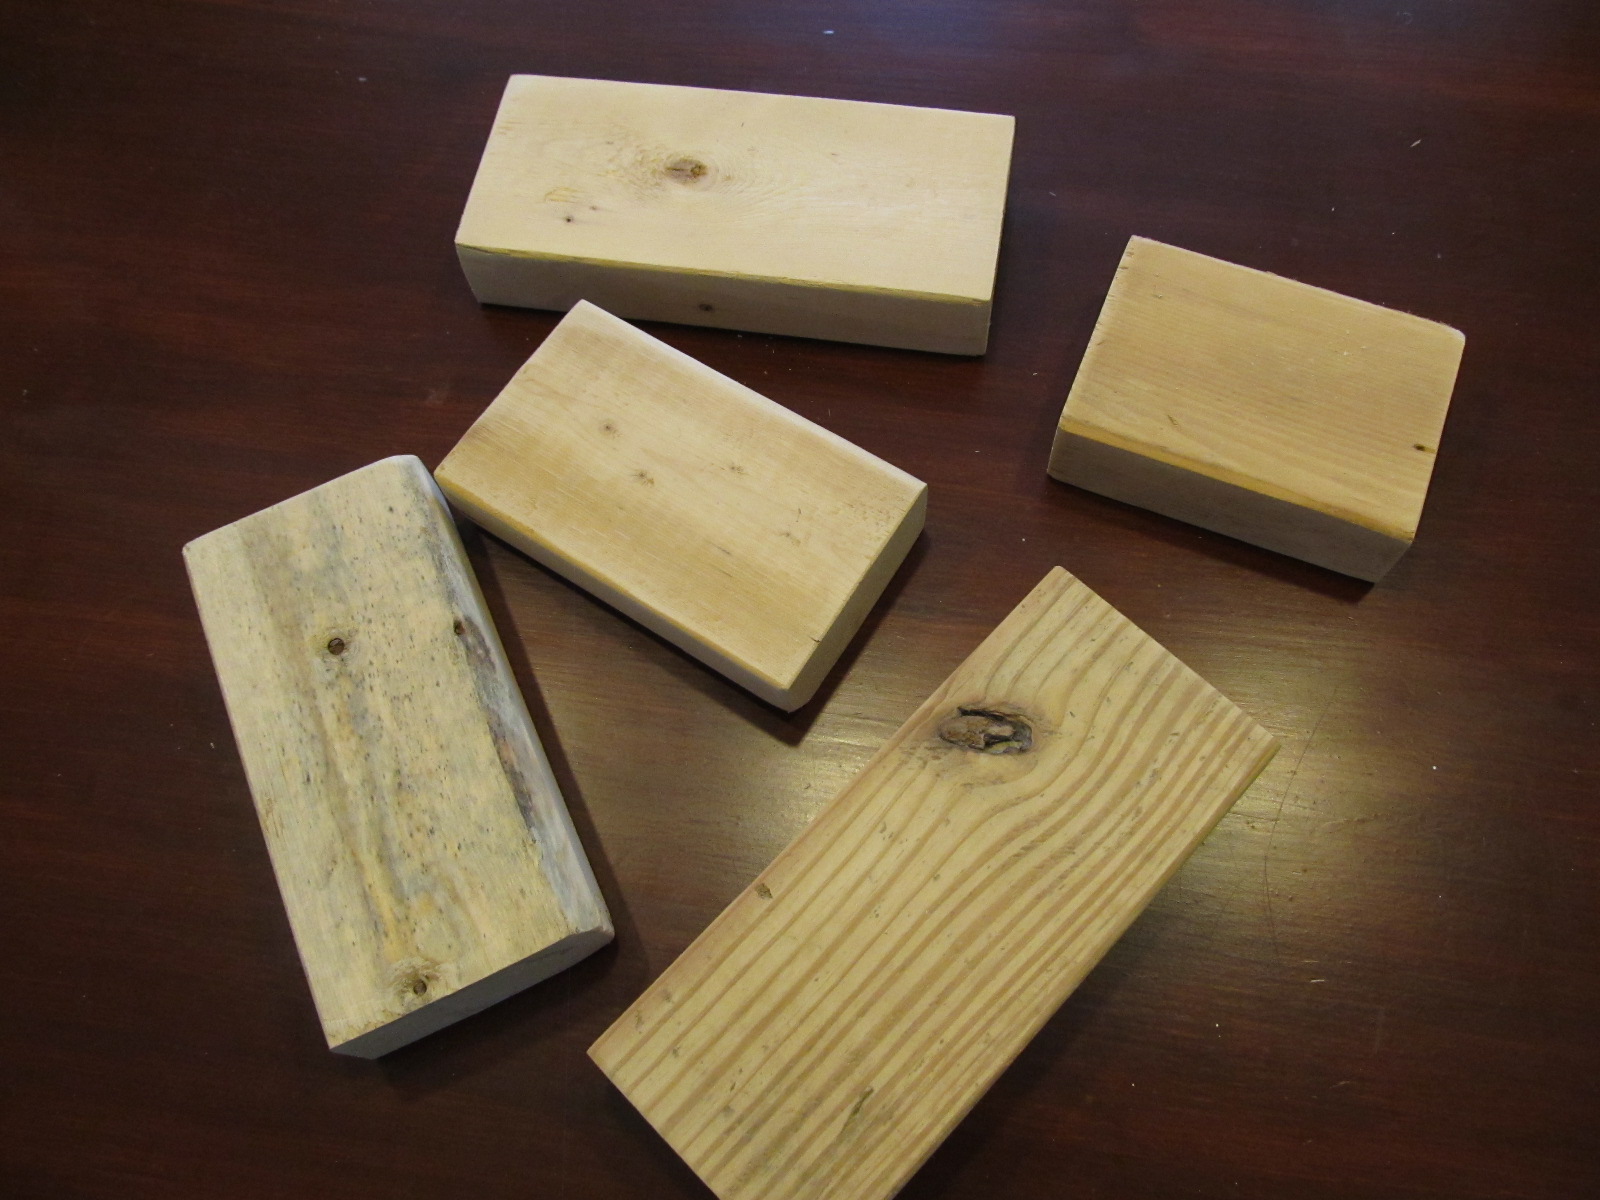
I have seen so many decor ideas like this on pinterest, especially around christmas, which is when it sparked my interest, just hadn’t found the time. Then the other day it hit me, and I said “self go look in that box in garage”, (that has been in there for over 3 years.) The box I am talking about is full of wood scraps, it was left by the previous owner (which is my father-in-law). But I think it has just been passed through owner to owner, but it was my lucky day! I found exactly what I needed!
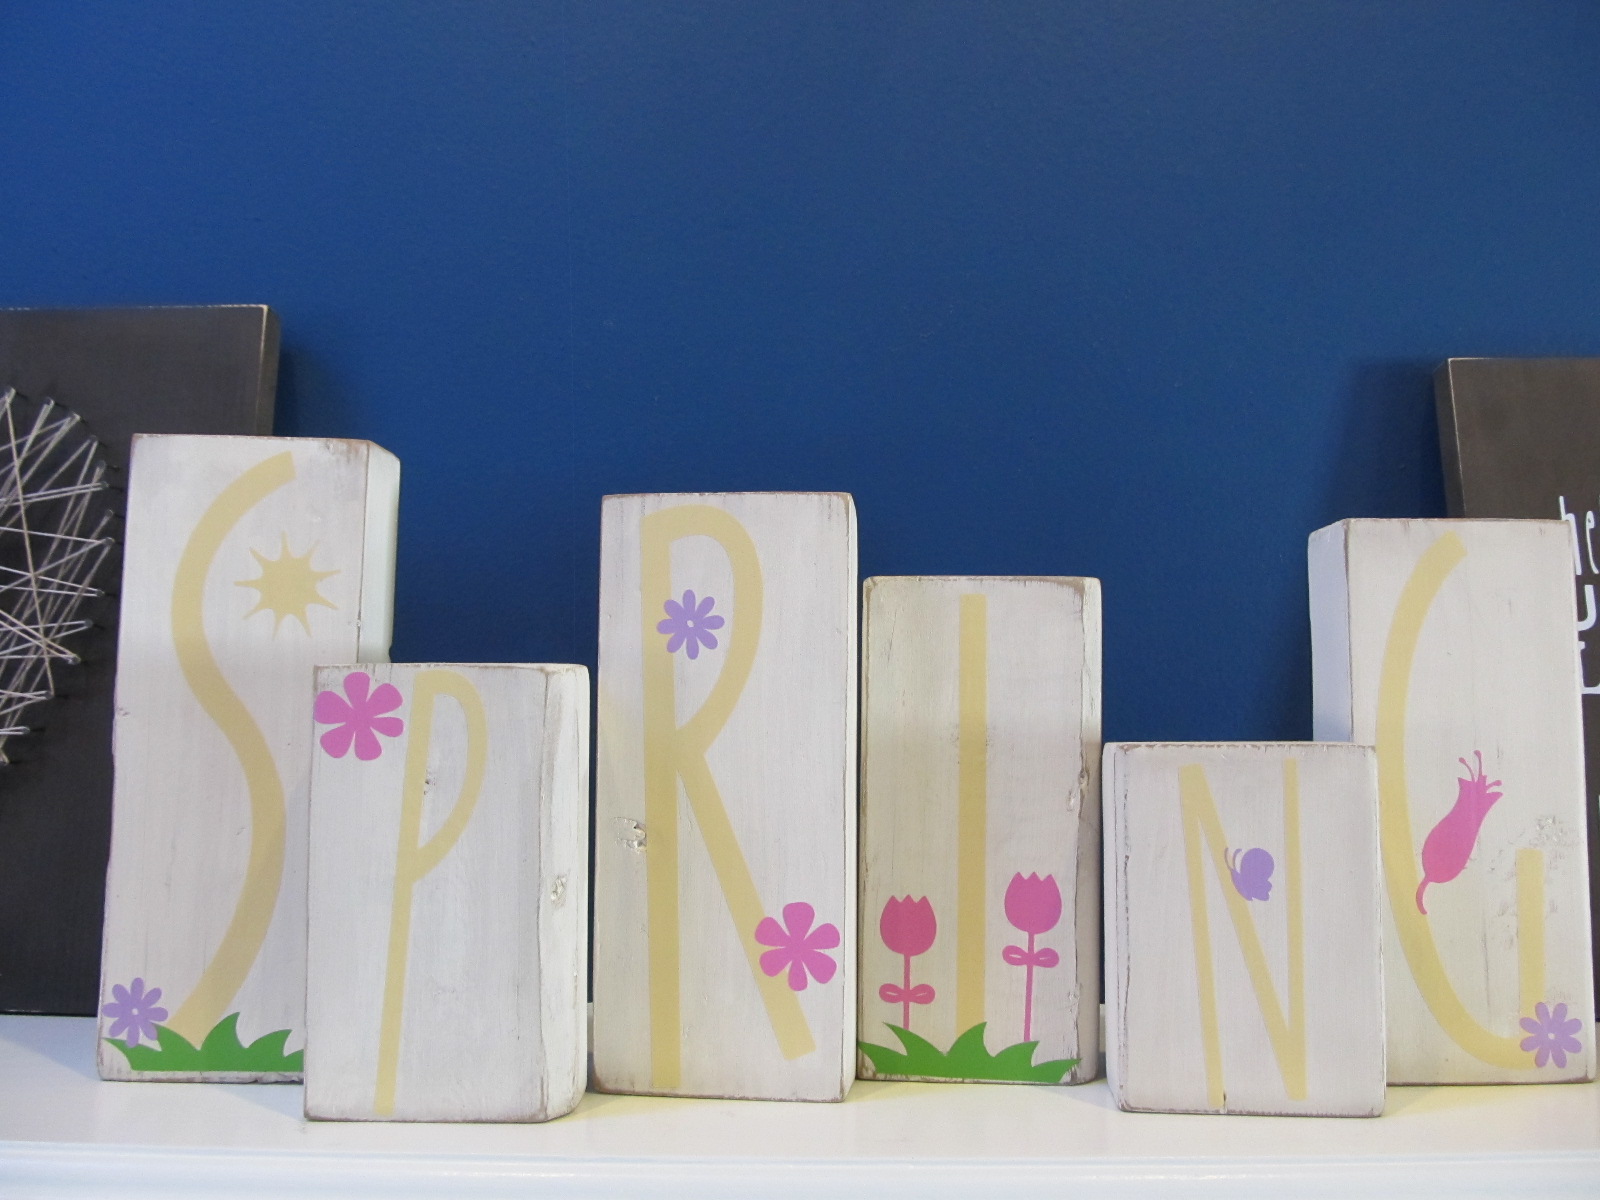
Nevermind the fact that there is only five and spring has six letters, I didn’t catch my mistake till I was planning my letters out.
After I used my gardening gloves to reach around in there,( I’m a weirdo when it comes to reaching into places that spiders may be inhabiting!) I gave them a good sanding, mine were dirty and really rough, who knows how long they had been in there. Then I brought them in to paint, I just used acrylic paint. I was almost out of one type but thankfully I had the same color in another brand, I used a warm white/vanilla.

Both are from Michaels
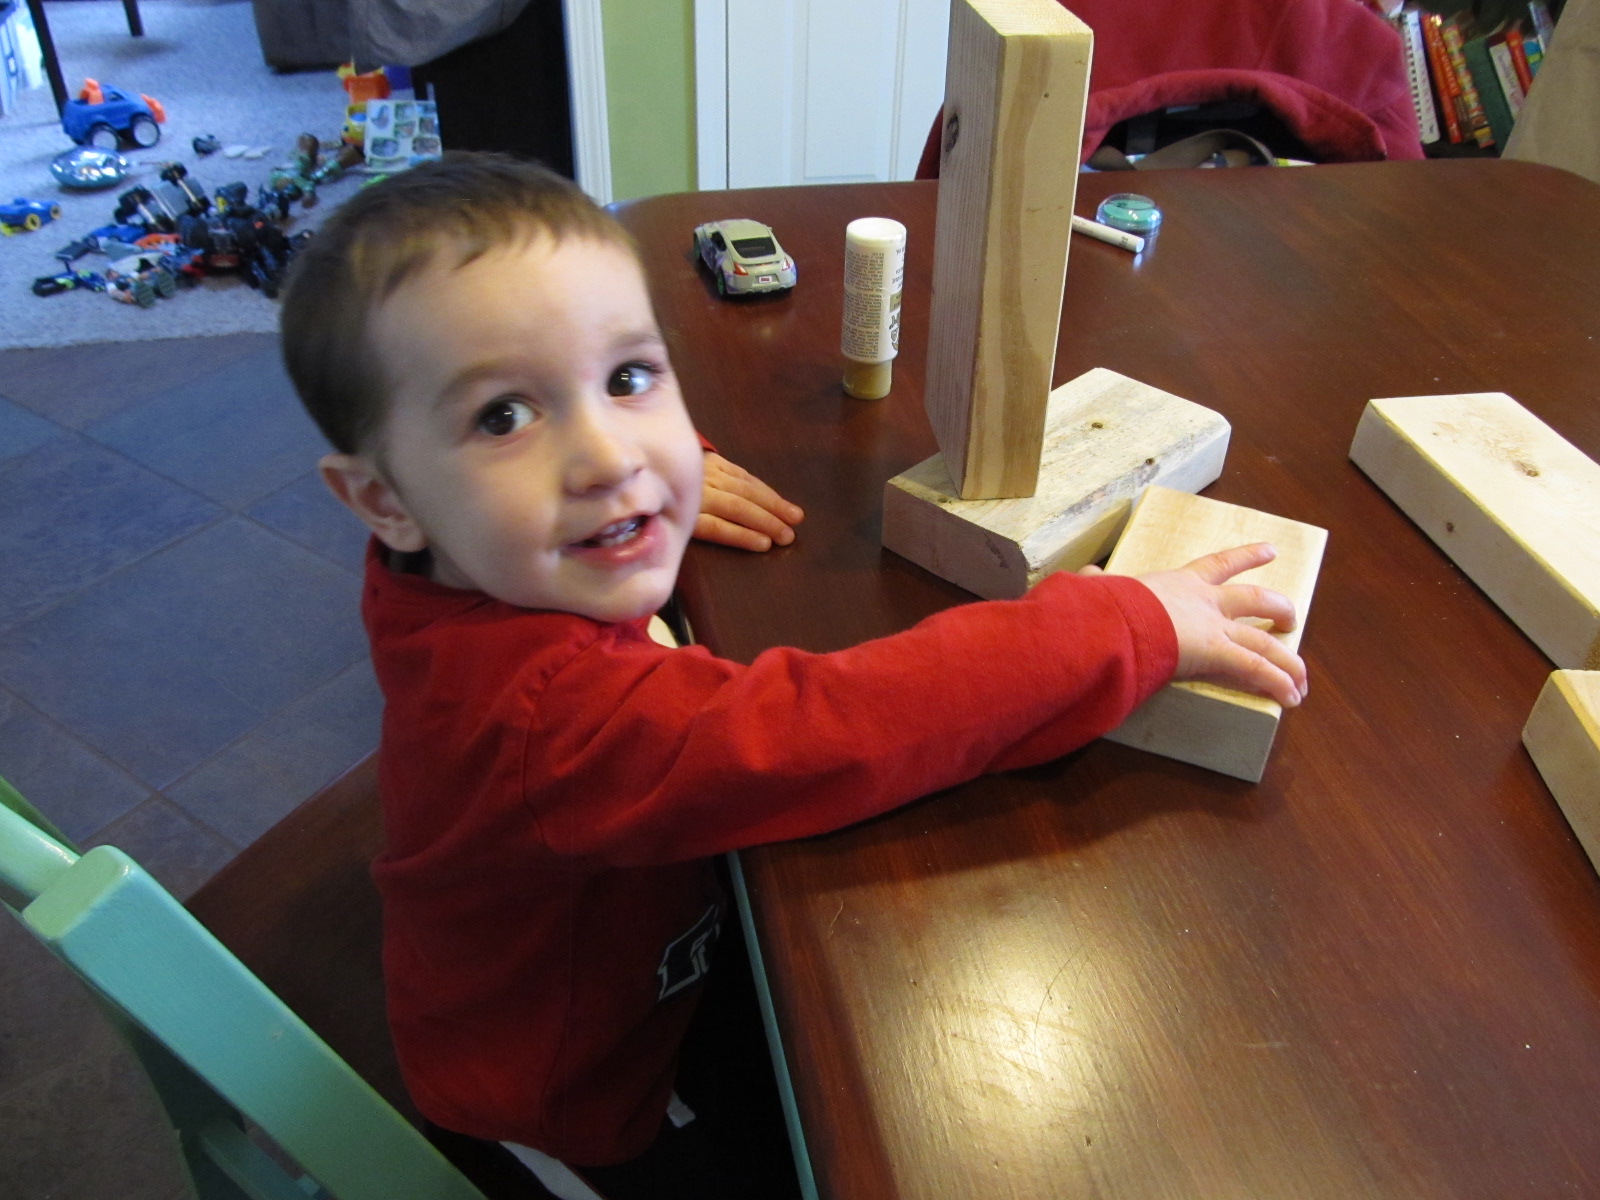

A certain little boy was having fun stacking them, that may be anthor project another day.
I let mine dry over night (it was bedtime). I wanted mine to have a rustic feel, so I sanded the edges and corners down, but this part is all up to you.

Then to really give it the feel I wanted I took a wet paper towel and dabbed it with stain. I had a few little cans in the garage so I just used what I had on hand. Mine was Minwax wood finish in Provincial.
 I just rubbed it all over especially focusing on the edges an corners. ( I went thru a few paper towels)
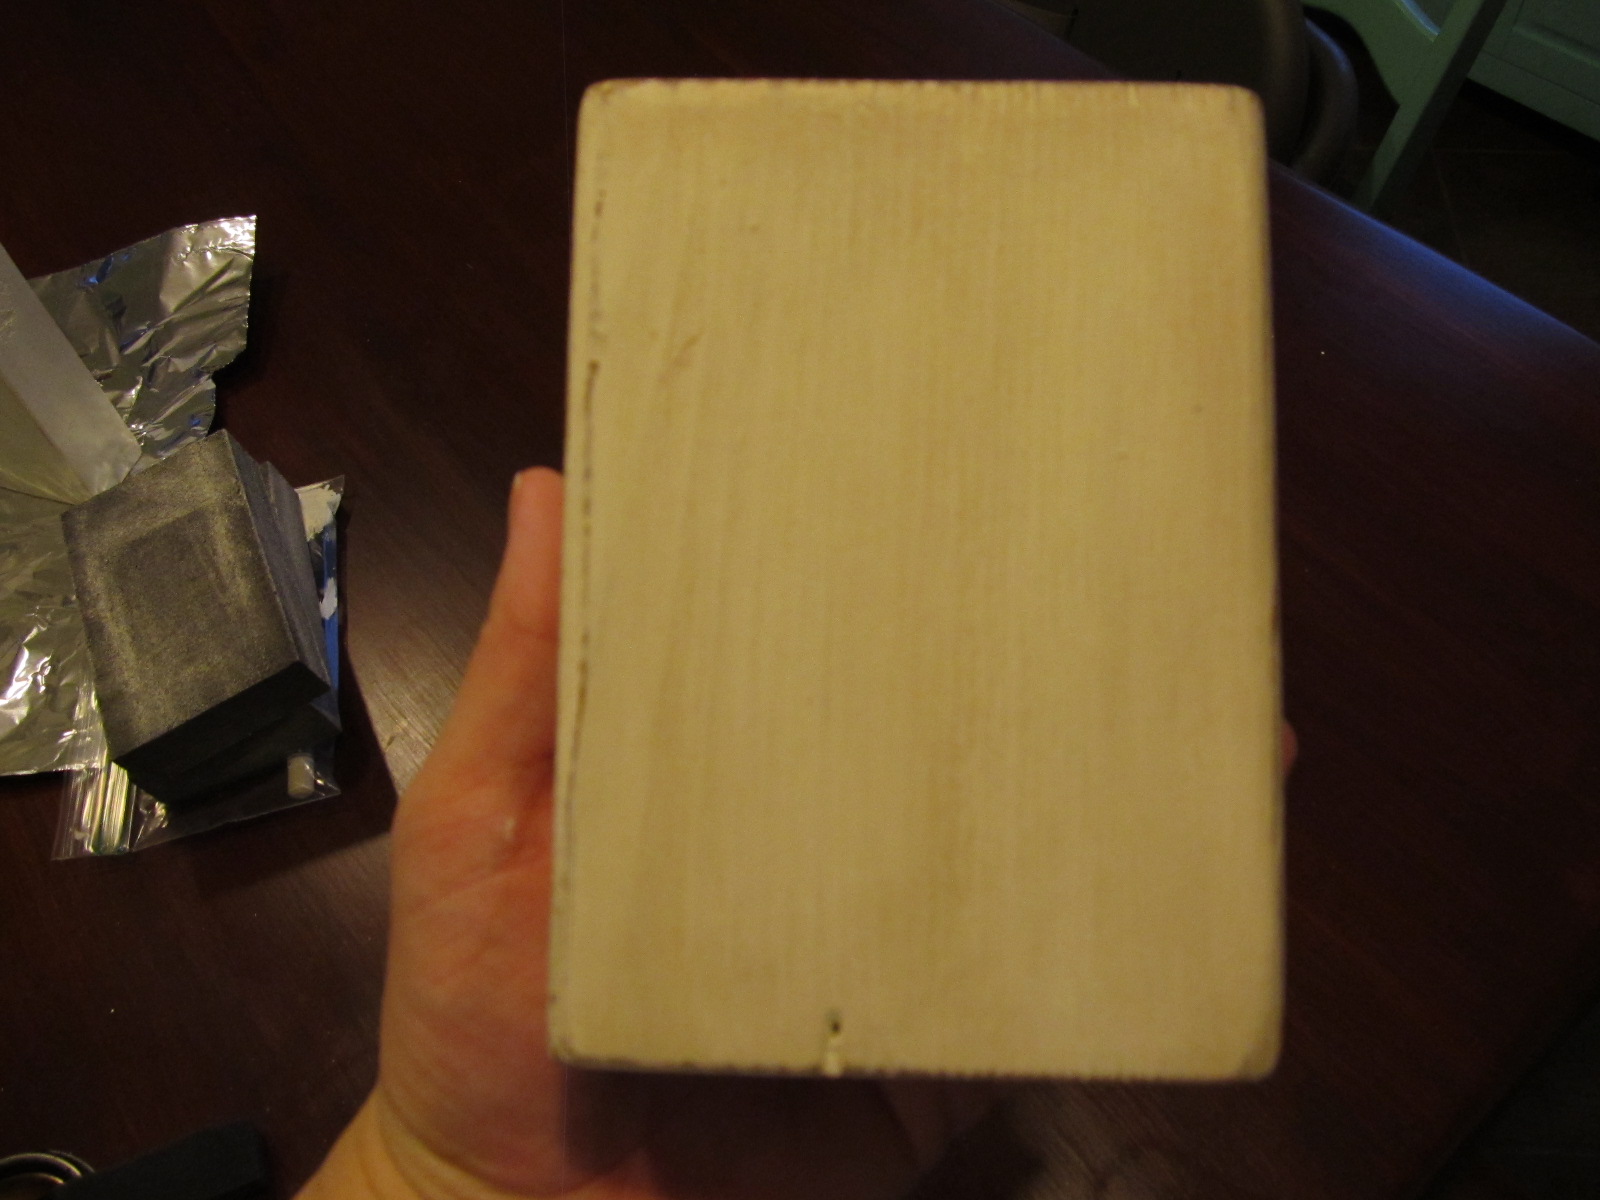 I had read on a blog (I’m sorry I can’t remember which one, but they put the stain on the edges and left it for 15 min then wiped it off but I tried and it immediately soaked in, so thats when I tried the wet towel approach)
didn’t like this, thankfully I first tried it on the back of one.
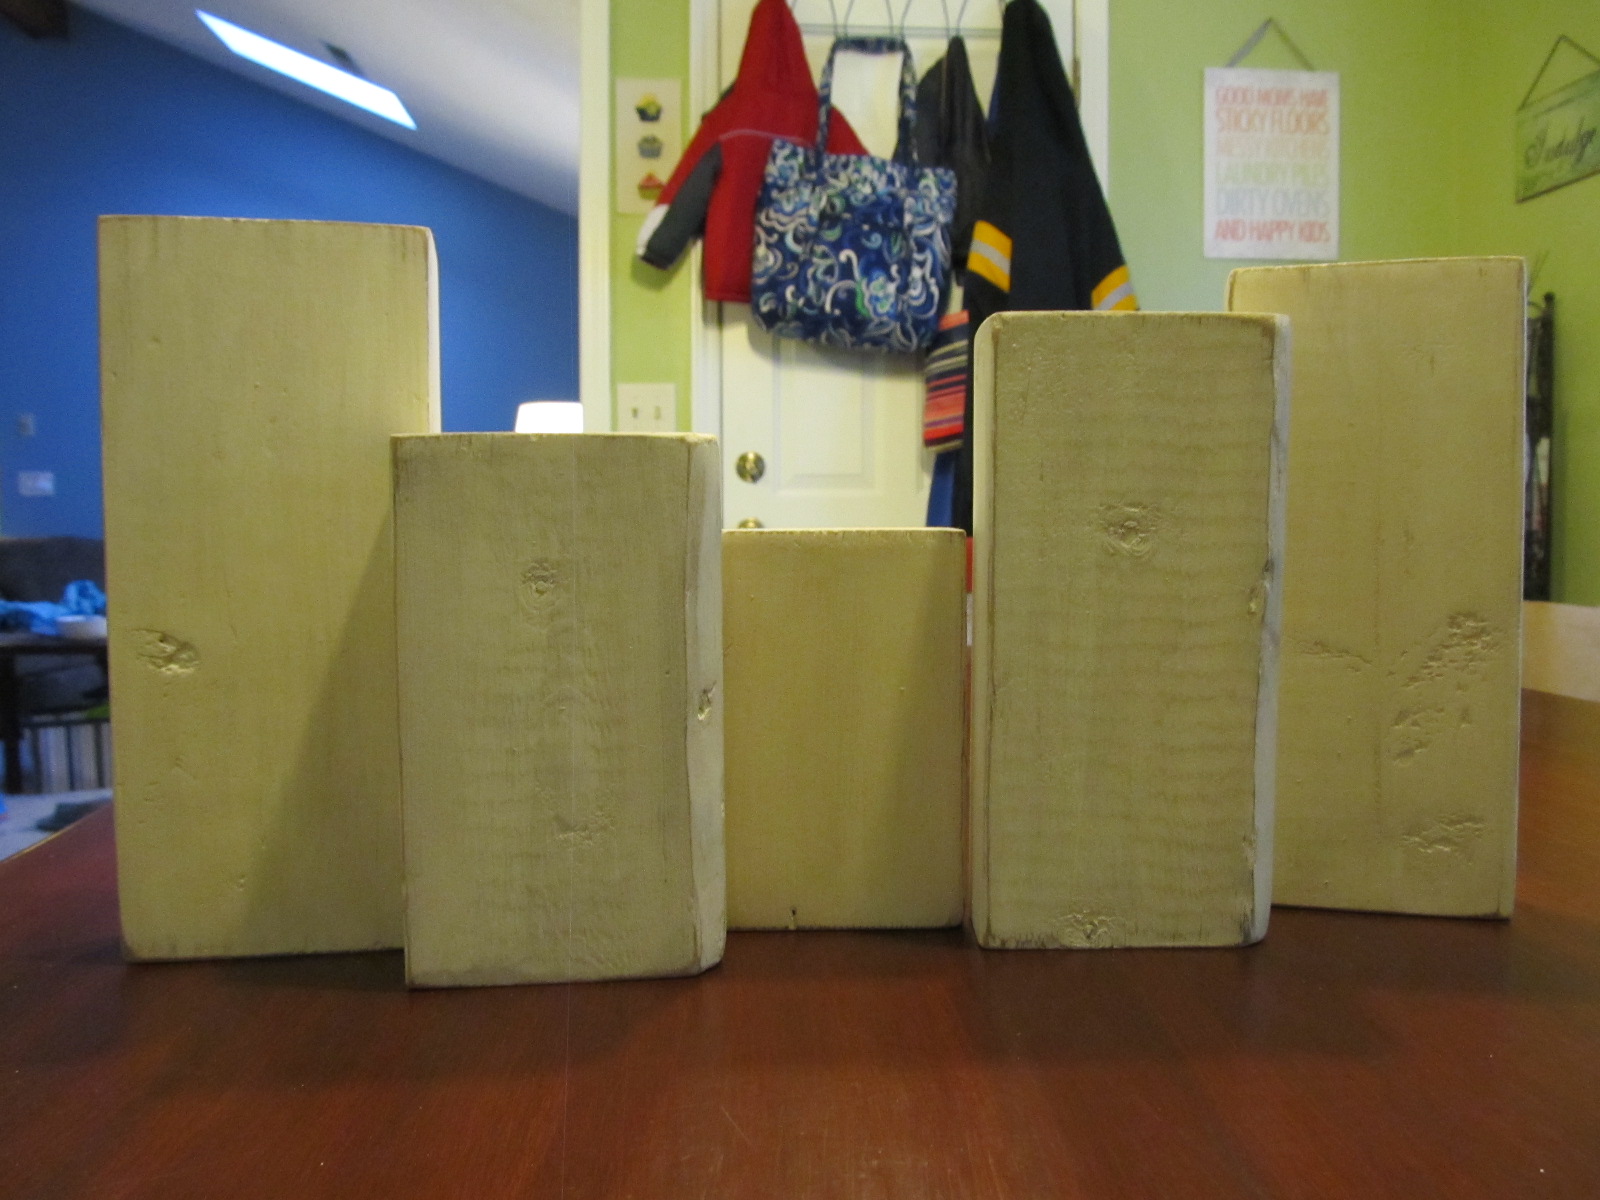
Here’s what they look like all rustic like, yes still there is only five, didn’t catch it till the next step.
After I figured out how I would arrange them, I measured the height of each one so I could use my Cricut and cut vinyl to fit. You could also use scrapbook letters and paper, stencils, or freehand it. Just have fun with it! Now this is the part where I was typing my letters out and went, ” Oh you Dingle Dork! Spring has SIX letters!” So I said a little silent prayer hoping that there was another block out there, and JACKPOT! This project was meant to be!
With my cricut I used the Jubilee, Create a Critter, and Craft Room Basics cartridges for the designs.